")
In this part we will move forward and customize our Web Access Login Page to make it look the way we want it to look.
This will be done on RDWA01 server.
PASSWORD RESET LINK
First thing you can do is add a password reset link, so it’s actually a link where users can change their AD passwords just from the main page of RD Web Access.
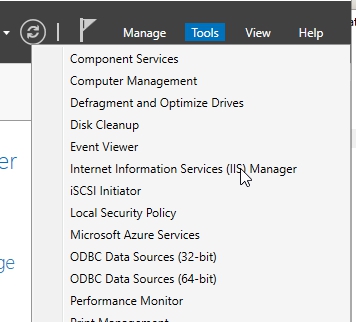
Let’s start by opening IIS in Server Manager
Expand the RDWA01 server –> sites –> Default Site –> RD Web page and click on Pages.
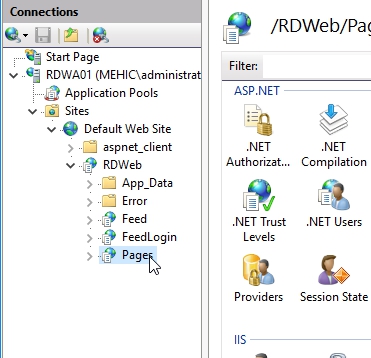
Double-Click on Application Settings

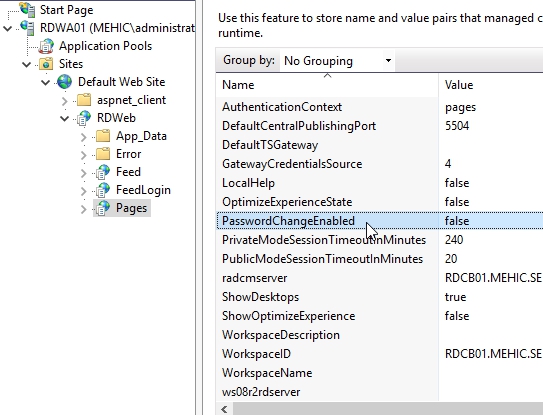
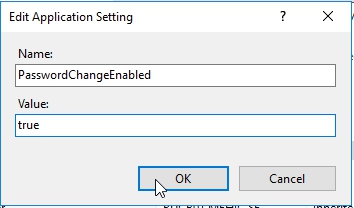
We can see that PasswordChangeEnabled is false so I am going to edit that and change that to true. Double-Click on it and type in True in Value
Just changing that to true means if the user’s pass expires, the RD Web Access page can prompt them to change their pass, but we want to go step further and give them a link on the main page. Minimize IIS and open Windows Explorer.
By default, everything for the RD web page is in %windir%\web\rdweb\pages\<language-code>.
This will also be the folder where we’ll do most of the customizing that’s discussed in this post.
Before we continue, make a backup copy of this entire %windir%\web\rdweb\pages folder.

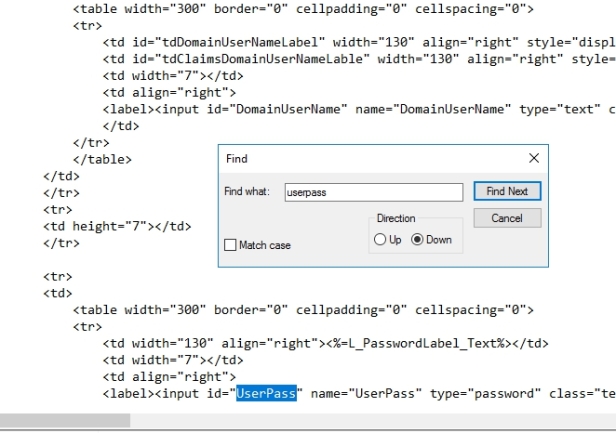
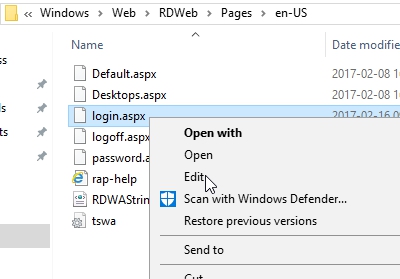
We want to edit login.aspx. Right-click on it and select edit.

We need to find an area that talks about userpass, and the easiest way is just to search for userpass.
Scroll down and get to the end of the table and add new code. We are going to add another tr (is for table row), td (is going to keep this particular cell on the right-hand side) and now we’re going to add hyper-link, so that is a href. Whatever is in the tags is going to be what users are actually going to click on.

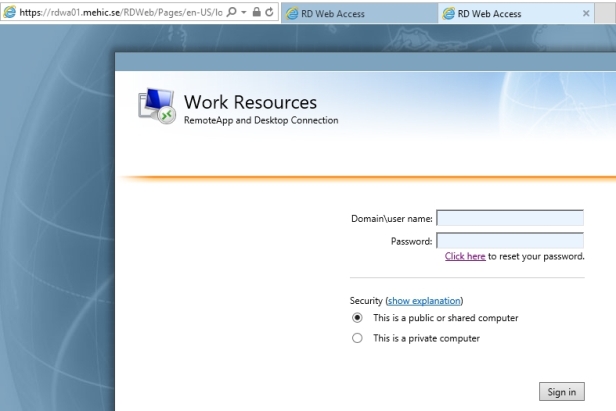
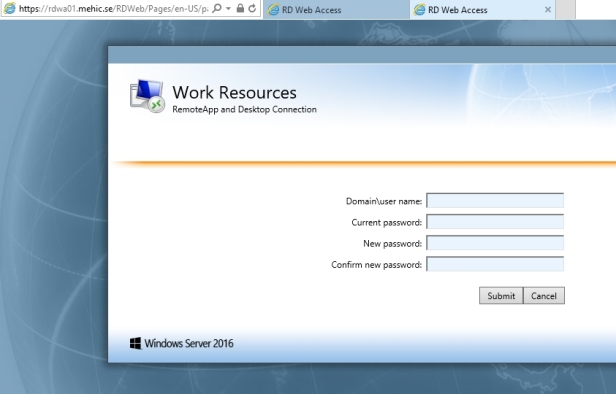
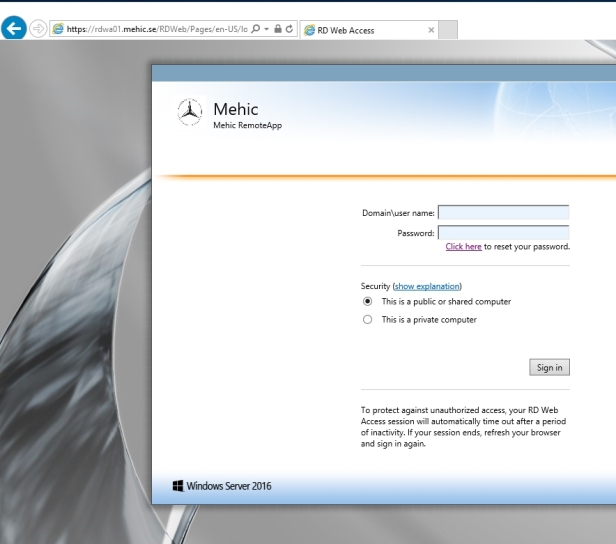
Save the file and browse to your RD Web Page. Now you can see a link on the main page and if you click on it, it will open up the password page.
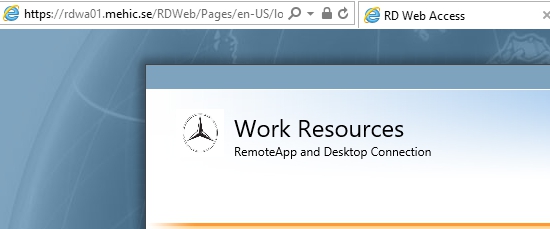
WORK RESOURCES CUSTOMIZATION
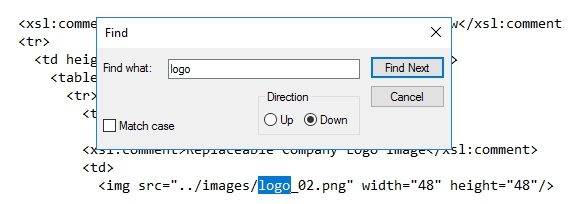
Next thing we are going to do is to change the default images. The image in the upper left-hand corner is actually named logo_02.png
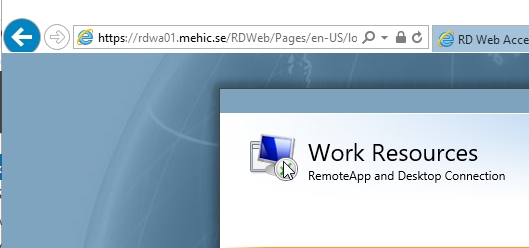
The image in the uper righ-hand corner is named logo_01.png.
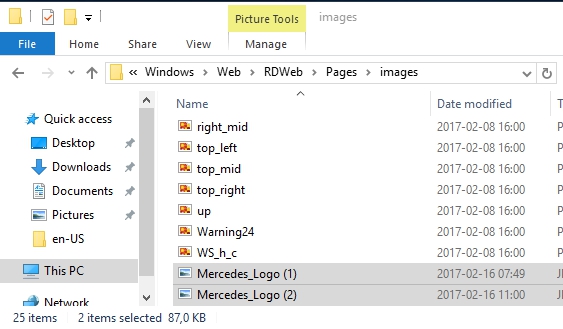
they are located in the images folder. I have 2 images which I will copy into image folder (path %windir%\web\rdweb\pages\images)
Now we have to edit Site.xls, which is located in %windir%\web\rdweb\pages. Right-Click on it and select Edit

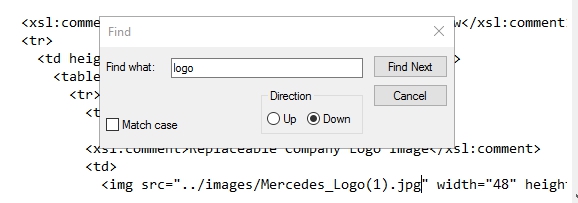
First thing I’m going to do is search for logo (remember, logo_01 is the one in the upper right-hand corner) and I’m going to replace that with my Mercedes logo.


Click Find Next 2 times and change logo_02.png as well. (Logo_02 is the one that’s right next to Work Resources)
Save the file and browse to your RD Web Page. Logo is changed.
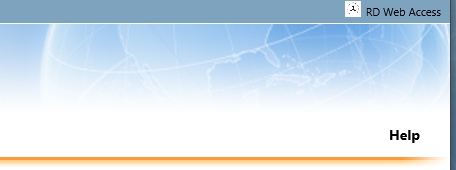
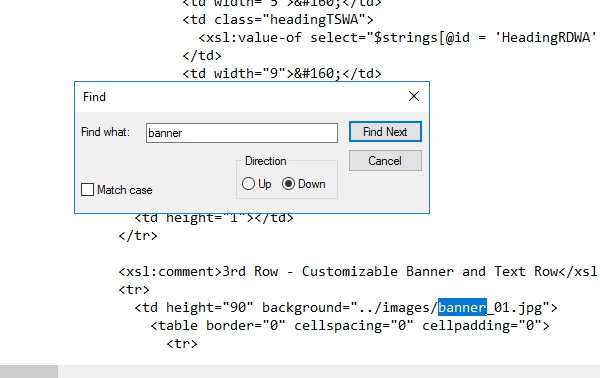
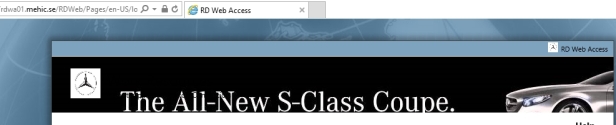
BANNER CUSTOMIZATION
Now we will customize banner. That is the area with the globe behind work resources.
Edit Site.xls file again. Search for banner, and this banner_01 is the globe that we see. I am gonna replace it with Mercedes_Logo(2)
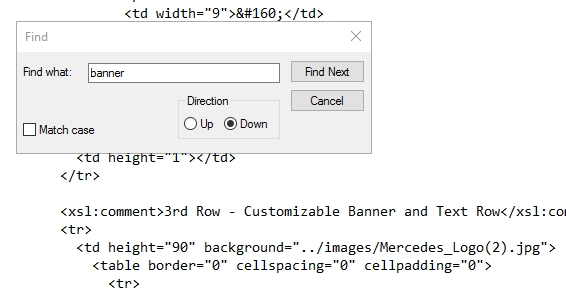
Save the file and browse to your RD Web Page.
Changing bg_globe_01.jpg changes the big globe background image of the whole site.
Browse to the %windir%\web\rdweb\pages folder and right-click on tswa file and click edit
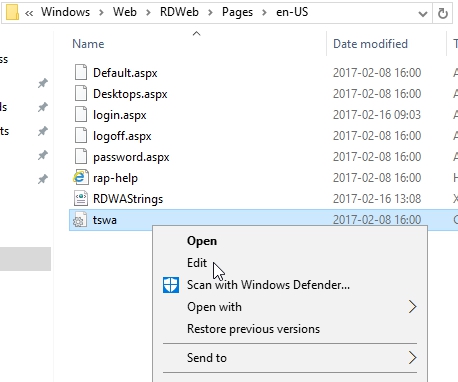
I will replace bg_globe_01 with my image, silver.

Save the file and reload the page.
TEXT CUSTOMIZATION
WORK RESOURCES – this has to be changed using a Powershell connection on the Remote Desktop Connection Broker.
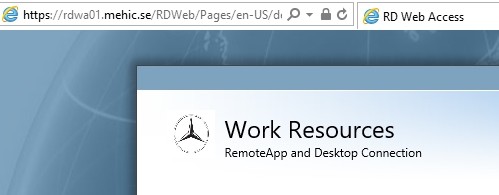
The text underneath it,
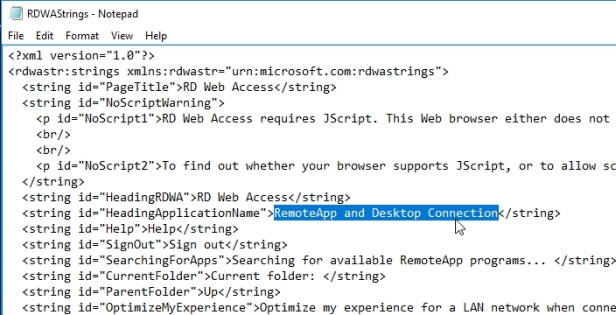
REMOTEAPP AND DESKTOP CONNECTION – is changed in an XML file
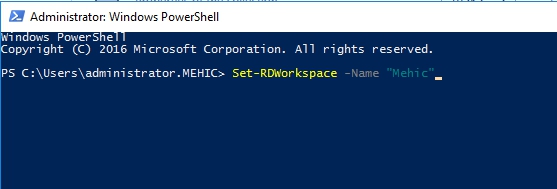
- Let’s go over to our Connection Broker to change Work Resources
Run Powershell as admin and type in Set-RDWorkspace -Name “Mehic”
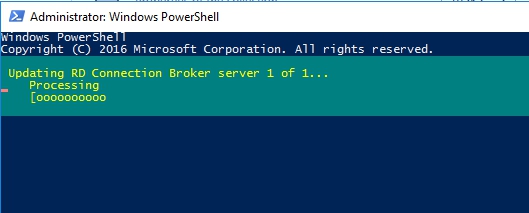
Refresh the web page and take a look.

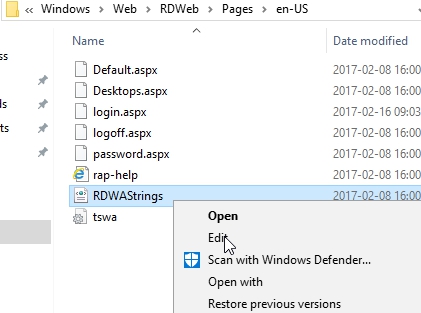
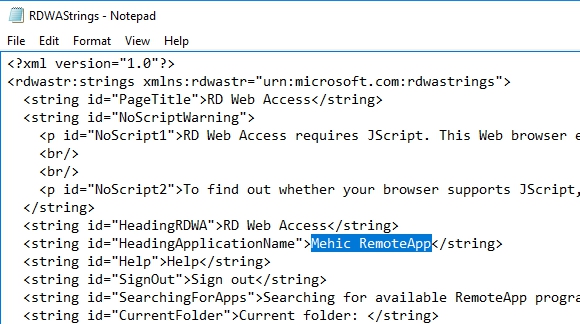
- Next thing I am going to change is the inforamtion below Mehic (RemoteApp and Desktop Connection)
Go back to RDWA01 and browse to %windir%\web\rdweb\pages\<language-code>. Right-Click on RDWAStrings file and choose Edit.
Modify this line and replace it with the message of your own.
Save the file and browse to your RD Web Page.

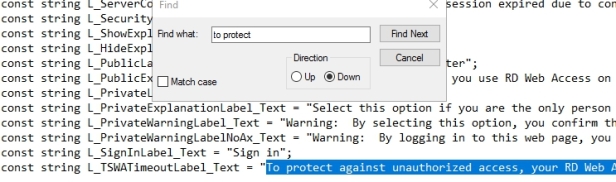
- Next thing we can do is customize the security setting messages

Browse to %windir%\web\rdweb\pages\<language-code> and right-click on login.aspx
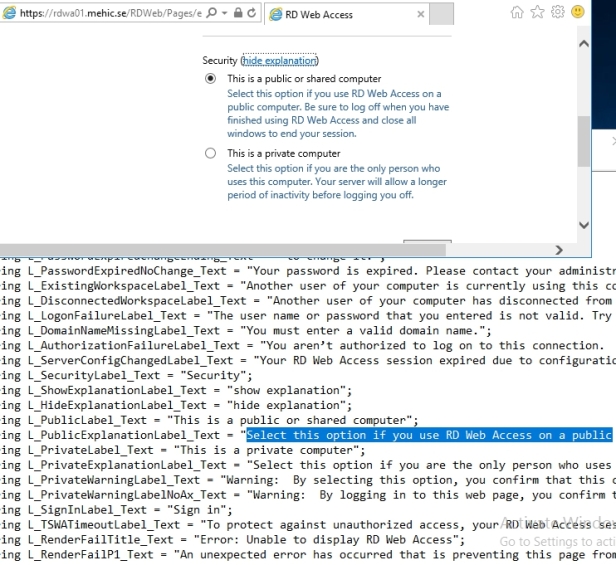
- Security setting session timeouts

This is a public or shared computer – when you select this option your session timeout is 20 minutes
This is a private computer – when you select this option your session timeout is 240 minutes
You can change these settings in IIS
Expand the RDWA01 server –> sites –> Default Site –> RD Web page and click on Pages, and double-click on Application Settings.

- Customizing the disclaimer message
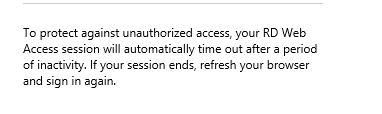
You can replace this text with a text provided by your organization’s legal department, or you can choose to clear it.
Browse to %windir%\web\rdweb\pages\<language-code> and right-click on login.aspx
- Forcing users to use the UPN / email address for logging on
If you would like that your users login with UPN insted of domain\username then you can change it in login.aspx
Browse to %windir%\web\rdweb\pages\<language-code> and right-click on login.aspx and choose Edit

Change this line to Email Address or replace it with the custom text you prefer.
If you change domain name to email address be sure to change this line as well from domain name to email address

That’s it.
In the next part we will move forward and customize the default page, the page that’s shown after a user logs on.
Cheers,
Nedim

Hi Nedim,
Thank you so much for this post. I really want to change default look so that our RDS looks more like our webpage. Great post!
Cheers,
Medy
LikeLike
Hi Medy,
Thank you, I’m glad it helped 🙂
Cheers,
Nedim
LikeLike
Hi Nedim,
Many thanks for RD Web Access customization posts. I was looking for some guide that explains how to get rid of default look in Web Access. Great article
Best Regards,
Kevin
LikeLike
Thanks Kevin,
Cheers,
Nedim
LikeLike
Thank you so much for this post. I need to knows how remove domain for access to RDWeb login, it’s this possible
LikeLike
Hi, Can you please tell me what do you mean by remove domain for access to rdweb login?
LikeLike
Thanks for your great post, Neiim. I would like to raise the same question as Mateo. It seems you only changed the label of logon username, but cannot remove the domain name input. Because user must input domain\username or usename@domain to perform logon (for e.g “contoso\tony” or “tony@contoso”). Can we just input username to perform logon (for e.g. “tony”)?
LikeLike
Hi Nedim Mehic
it’s Removing Domain Prefix in win server 2016 RDWeb
for example now if i wanna access to RemoteAPP (win server 2016 RDWeb) is using domain\username, i need change this for only used username
LikeLike
Hi Mateo/Oscar,
First backup the login.aspx file under C:\Windows\Web\RDWeb\Pages\en-US.
Next open login.aspx with notepad and move to the const string L_DomainUserNameLabel, remove the domain and keep only username example
const string L_DomainUserNameLabel_Text = “User Name:”;
Next take a backup on C:\Windows\Web\RDWeb\Pages\webscripts-domain.js file. Once done open it with notepad and edit the line
var strDomainName = <your domain here; and save the file
Example
var strDomainName = MEHIC;
LikeLike
Thanks, Nedim. But the change of “var strDomainName = MEHIC;” in webscripts-domain.js file can only logon the RD Web access. It will prompt for re-logon when we click to access the RemoteApp or VM Desktop. I am not familiar with the code in webscripts-domain.js file. Do we need to change some code in it? Thank you very much in advance.
LikeLike
Oscar, I am having the same issue. It appears that nobody on the internet knows how to fix this problem as I think I’ve read all articles on this out there and can’t find a solution to it either.
LikeLike
Thanks for your great post and information , Neiim. I have the same issue as Oscar, when add domain in “var strDomainName = MEHIC;” in webscripts-domain.js file can only logon the RD Web access. It will prompt for re-logon when we click the RemoteApp.
Best Regards,
Mateo
LikeLike
Hi, Nedim. i’m only create one (Server 2016) RDS serve to Access Remoteapp by RDWeb , when add domain in “var strDomainName = contoso;” in webscripts-domain.js file can only logon the RD Web access. It will prompt windows security pop up for re-logon when we click the RemoteApp.
LikeLike
Hi Mateo,
You will need to configure SSO to avoid re-logon. I configured that to few clients and users was happy to avoid double login. SSO and RD Web Access High Availability will be available next week.
LikeLike
Unfortunately however, SSO will ONLY work if the end-user is using Internet Explorer of Microsoft Edge. Google Chrome, and/or Mozilla Firefox will NOT allow SSO, so it’s kind of a pointless endeavor IMHO.
LikeLiked by 1 person
Hi Steve,
That is true. SSO is only supported under IE since it requires Activex. With non-IE browsers users will be prompted once to log on to RDWeb, then a second time when they launch a RemoteApp but if you want to use it you will force users to use IE and they will accept it because many users hate to login twice.
LikeLike
Very true Nedim, good point : ).
LikeLike
Can you tell me how this is configured in Server 2016? I am unable to get it working even in IE.
Thank you
LikeLike
Hi Dan,
Here is the link to SSO https://nedimmehic.org/2017/11/20/remote-desktop-services-2016-standard-deployment-part-4-rd-web-access-part4-sso-high-availability/
LikeLike
Hi Nedim,
great blog. Do you know how to remove the security Settings message and force the Users to use public computer settings? The Users don´t know what to select so I want to hide the setting.
LikeLike
Hi Holger,
Yes, you will need to change few lines in login.aspx and one line in webscripts-domain.js. I will configure it and send you the steps
LikeLike
BTW: I also noticed that after I made some modifications to the login.aspx file (forcing users to use the UPN / email address for logging on), IE/Edge no longer allows SSO – it now behaves just like Chrome and Firefox with the double logins. Any idea was to what could possibly cause this?
LikeLike
Love these posts. Hate the fact that there are no links to other parts of the article (part 5?) on the page. Don’t know how to find it. Oh well, off to Google…
LikeLike
Hi Joe,
All the links are here nedimmehic.org/2017/01/21/deploying-remote-desktop-services-2016-step-by-step/
Every main section has the main page and sub pages. When you browse to nedimmehic.org you will see main sections at the top and when you click on it you will find all the posts for that part.
LikeLike
These are great posts – do you have a RSS feed or similar so we can be alerted of new posts from you?
LikeLike
Hi Sinclair,
Thank you. You can click on Follow and on that way you can get an mail every time new post is added.
LikeLike
Great Blog. Spot On!!
LikeLiked by 1 person
Super blog, great job Nemic.
Have to setup my first RDS and this helps a lot :).
LikeLiked by 1 person