In last part of this series we talked about sysprep and how to clone VMs hard drive and use it for fast VM deployment. In this part we will see how to export VM from one host and than import it into another one.
In Windows Server 2008 and 2012 VMs could only be exported while they were powered off. That is not the case in Windows Server 2012 R2 and 2016.
Export a VM while running
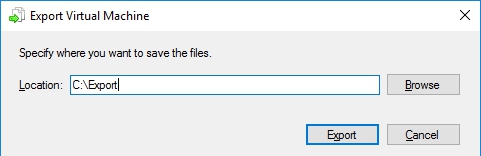
I will first create a new folder where I will export my VM
C:\Export
Right-Click on VM and select Export


Export is done. I will copy DC01 folder and import it into my second Hyper-V host HVTEST02.
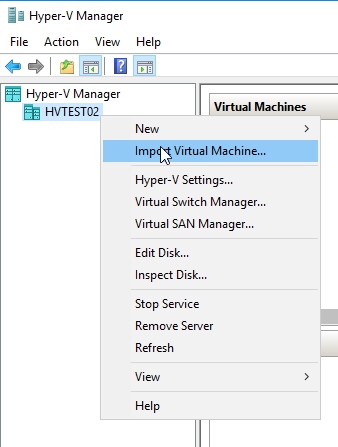
To import VM right-click on the name of your Hyper-V server and choose Import Virtual Machine.
Before you begin page will pop-up. Click next
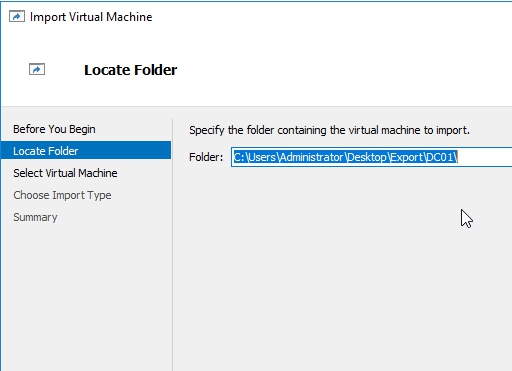
Specify the folder containing the VM to Import and click next
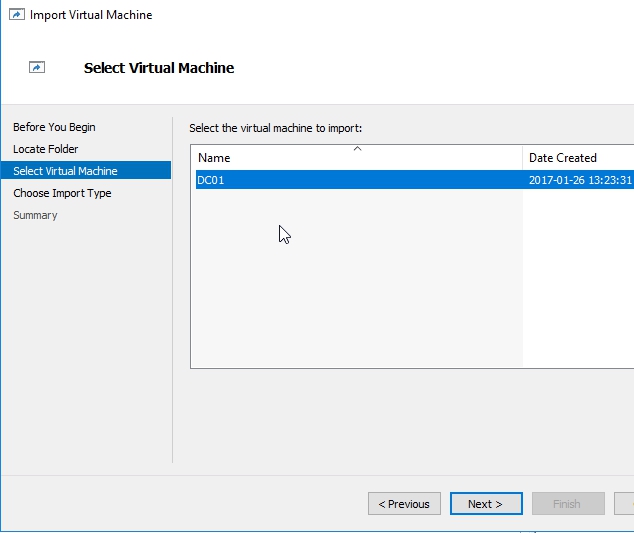
On Select Virtual Machine page, click on VM and click next
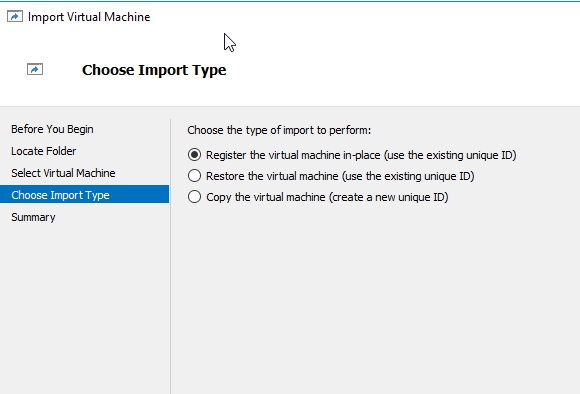
On the next page we need to choose import type:
- Register the virtual machine in-place – select this option if you have all the vm files in place exactly where you want them and you need only Hyper-V manager to start it. This option will quickly register the virtual machine without the need to make a copy of the file.
- Restore the virtual machine – If the vm files are stored on external drive or file share and you want Hyper-V to move the files to the appropriate location for you, and then register the virtual machine than choose this.
- Copy the virtual machine – If this vm is used for multiple import, if you are using it as template than this is the option you want to choose. It will create a new unique ID and then register the virtual machine.
I will choose the first option.
On Completing Import Wizard click Finish.
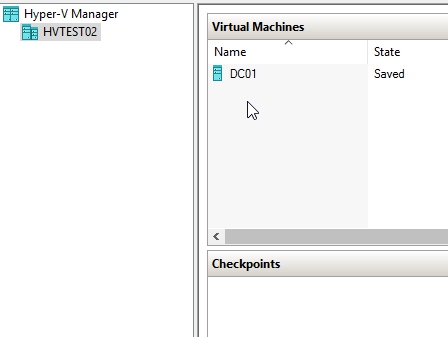
VM is now imported and ready to use.
Cheers,
Nedim


Leave a comment