In this part I will show you how you can manage Nano Server remotely. We will start by configuring IP address and then move forward.
Microsoft recommendation is that every Nano server be deployed as DHCP client. The whole point here is that we can build them up and tear them down very quickly and because of that we should have easy to configure IP addressing scheme.
Let’s see how we can assing a new IP to our Nano Server (In case that you don’t have DHCP in your environment). In the production world you should use DHCP.
OBS!!! You will only be able to type in IP address, Subnet Mask and Gateway. DNS configuration is not available in the Recover Console. Because of that limitation you should deploy Nano Server as DHCP client in the production environment.
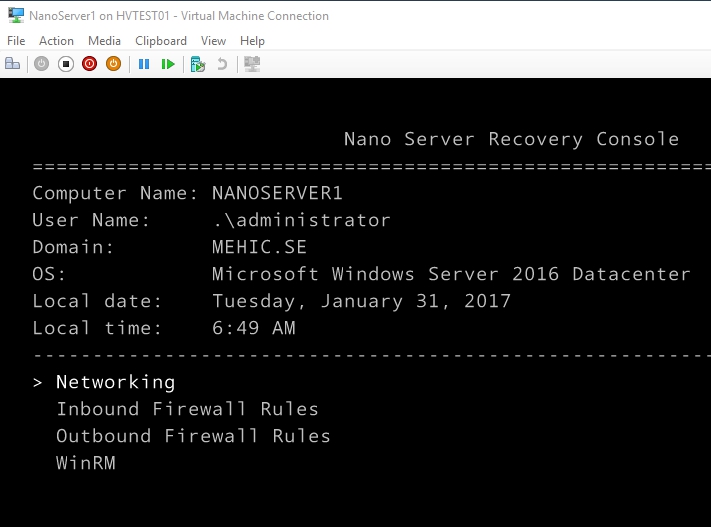
Connect to Nano Server VM and login to the Recovery Console.

We can see here that the Recovery Console provides only a very limited set, like a text menu for the different kinds of items that we can configure. Console is limited to Networking, Inbound/Outbound Firewall Rules and WinRM.
To configure Networking select Networking and hit Enter. 
If you have more than 1 NIC, choose which network adapter you want to configure and hit Enter
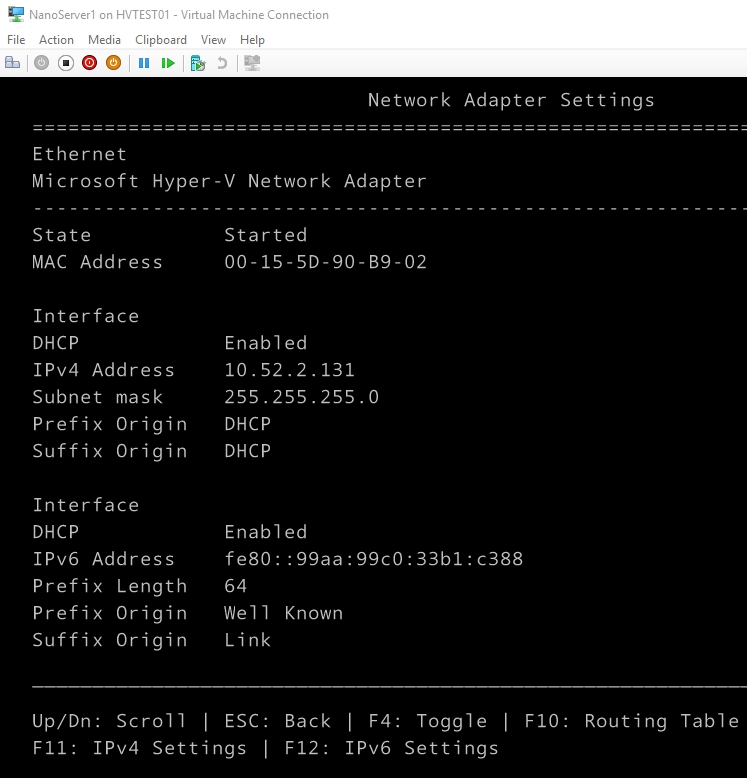
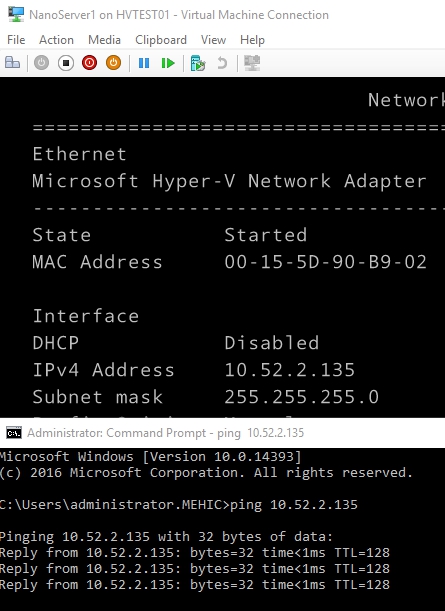
To change IP or to enable/disable DHCP press F11. To Disable DHCP press F4 and type in the IP address. As you can see, DNS configuration is not available. Only way to configure it is to have DHCP enabled or with remote windows Powershell. We will configure it with Powershell so I will disable DHCP here.


Now when this is done we need to open necessary firewall ports so that we can manage this Nano server remotely.
Firewall rule that is required in order to continue to manage this machine is:
File and Printer Sharing (SMB-IN)
I will also enable PING
File and Printer Sharing (Echo-Request -ICMPv4 -In)

Let’s check if we can access this server via ping. I am not able to ping it’s host name because I do not have DNS configured.
We are ready to move forward. Next step is to create “trust”so that we can use powershell to apply remote commands on this machine.
On your Management machine (In my case HVTEST01), Open up Powershell (As Admin) and run
Set-Item wsman:\localhost\client\trustedhosts -Value 10.52.2.135

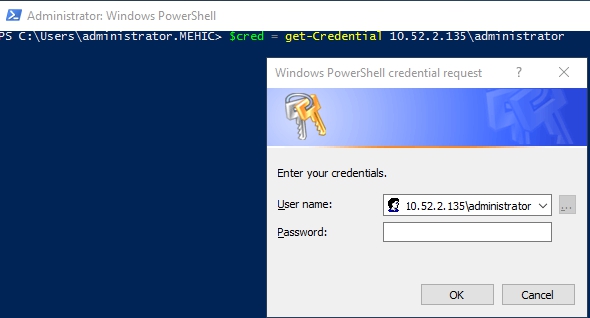
Next, I will store my credentials (Nano server admin credentials) in variable so that I can use them later. We can create that variable by typing
$cred = Get-Credential 10.52.2.135\administrator
When this is done we can enter into Nano server and administer it with
Enter-PSSession command
Enter-PSSession -ComputerName 10.52.2.135 -Credential $cred

First thing I want to do is to configure DNS.
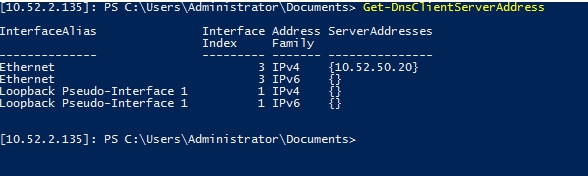
Get-DnsClientServerAddress will show us if DNS is configured. Ethernet, Index 3, IPv4 is empty.
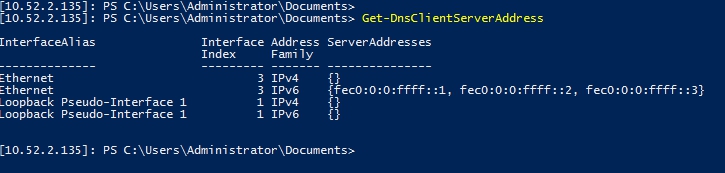
We can configure it by typing
Set-DnsClientServerAddress -InterfaceAlias Ethernet -ServerAddresses 10.52.50.20

That’s it. Let see how we can join this Nano server to a domain. This process requires the offline domain join function.
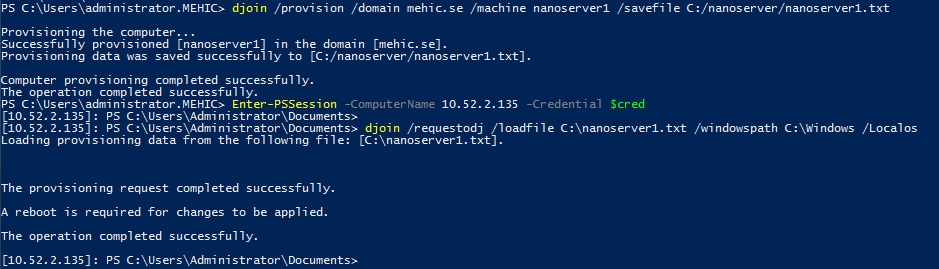
First run this command on the machine that is already domain-joined. I will run it on my management machine (HVTEST01):
djoin /provision /domain mehic.se /machine nanoserver1 /savefile C:/nanoserver/nanoserver1.txt

Next step… Copy this file that we just created and paste it on the C:\ on Nanoserver

Last step is to join this machine to a domain by running this command:
djoin /requestodj /loadfile C:\nanoserver1.txt /windowspath C:\Windows /Localos
After restart our Nano Server will be domain joined.

That’s it.
Cheers,
Nedim


Leave a comment