In this part we will talk about configuring SSL and Publishing Apps.
RD WEB ACCESS SSL
All certificates can be managed from a central place on the RD Connection Broker. Make sure when you request a certificate that you specify the correct common name (if you are not using wildcard) otherwise there will be cert errors. The cert you use must be for Server Authentication, which is your basic SSL certificate. Let’s take a look at how we would do that.
Current Infrastructure
DC01 = Domain Controller, mehic.se, Enterprise CA
RDWA01 = RD Web Access Server
RDCB01 = RD Connection Broker Server
RDSH01 = RD Session Host Server
We are going to be requesting our certificate from the Certification Authority (CA) and then using the RDCB to configure the Web Access Server.
Let’s take a look at what our RD Web Access page looks like right now. On RD Connection Broker, open your favorite web browser and type in https://rdwa01.mehic.se/rdweb. You can see that we get a certificate error. Click Continue to this website, which is not recommended because IE can’t verify the cert that’s being used because it’s self-signed.


Put in credentials and then go ahead and click Sign In. This is what it looks like right now when I haven’t really done anything to configure the RD Web Access page.

First thing we’re going to do is set up SSL to get rid of the cert error. Open MMC (Windows button + R and type in MMC) and request a certificate. Go to the File, Add/Remove Snap-in and add the certificate to snap-in. Make sure you specify Computer account.
(OBS!!! This certificate template was created in How to Install Remote Desktop Services 2016, Quick Start Deployment)
Expand Certificates, and right-click Personal, All Tasks –> Request a New Certificate

Before you begin page will pop-up. Click next
On Before you begin and Select Certificate Enrollment Policy page, click Next.
On Request Certificate page, select MEHIC SSL and click on the link More information is required…. (With an SSL we have to provide other information)
You also want to make sure that certificate allows the private key to be exported.

Change the Subject Name Type to Common Name and add the exact name of the server or web site that you are using. First I will add the single lable name rdwa01 and than the FQDN rdwa01.mehic.se, click OK. Once done click Enroll and Finish


Now underneath Personal I can go up and click Certificates, and there’s the certificate that I requested. Next we need to export the certificate with private key and configure RDWA01 to use it.

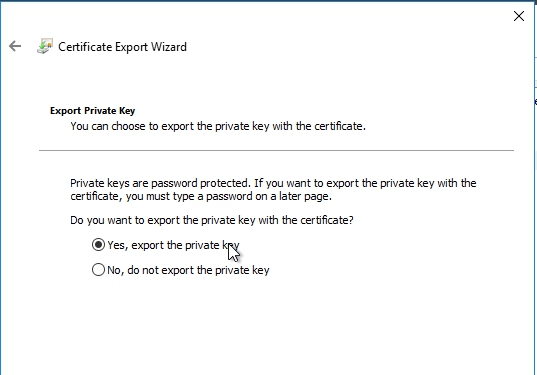
Welcome Export Wizard will pop-up. Click Next. Select Yes, Export the private key and click next
On Export File format click next.

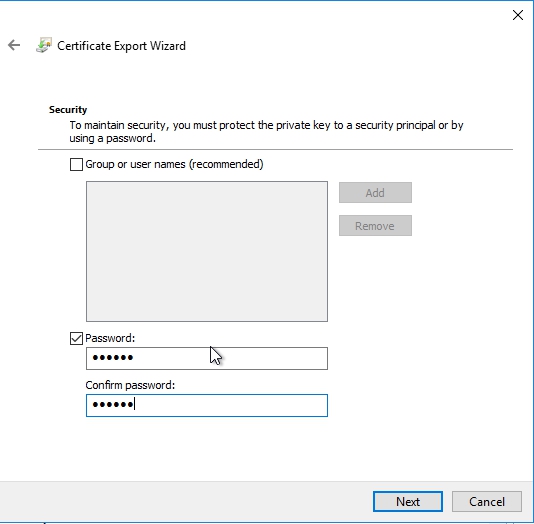
Check Password box and type in the password. Click next
Type in the name and where you want to save it and click next and finish
Now we want to go in and add that certificate into RDS, click on Collections page, and go up under Tasks and click on Edit Deployment Properties.

We will go down to certificates and then click on RD Web Access.

I’m going to select an existing certificate, browse for the certificate, give the password and check the box Allow the certificate to be added …. and click OK.

Once done, click on Apply and then we will see the certificate come up as trusted.

Let’s go ahead and test it. Open web browser and go back to RD Web Access page, and we can see that web page comes up without cert error.
PUBLISH REMOTE APPS
Next thing we’re going to take a look at is how to publish RemoteApps.
When we are publishing Remote Apps, it’s all done on the RD Connection Broker, and that is probably the most important thing to know.
When I Sign In, this is what it looks like right now when I haven’t really done anything to configure the RD Web Access page.

Next thing I want to see here are Remote Apps, which will allow my users to use the applications that are running on the RDSH. Close RDWA page and go into collection. We can see now there are no Remote Apps programs published.

To Publish RemoteApp Programs click on the link and the wizard retrieves a list of applications that are available on the RDSH. If you want to publish programs that are not in this list use the Add button to browse to the program you want to publish. Note that you need to browse to a UNC path, not a local disk on the RD Session Host.

Let’s go ahead and publish Calculator, Google Chrome and Remote Desktop Connection. Select those programs and click next, Publish and close


Apps are published, let’s go and verify that. Start web browser, connect to RDWA page and login.

If you click on one of them it prompts you to connect and you can see that Chrome opens up and that is the beauty of the RemoteApps. It looks like Chrome is running on this computer when in fact it’s running on the RD Session Host.


Go back into Collection and right-click on one RemoteApp (I will do it on the Calculator) and edit the properties.

First thing I can do is change the name so I can say like Mehic Calculator. I can choose whether or not it’s going to show in the RD Web Access Page. I can also have the RD Web Access Page categorize programs into folders. I will put the calculator in a folder called Economy.

In command line parameters we can add any or always use these particular command-line parameters.

In User Assignment, We can limit the particular RemoteApp to specific users, so only those users that are allowed to use the application will see it.
OBS!!! This is done per – remoteApp basis, so we have to do this for each and every specific RemoteApp

The final thing that we can tweak are file associations. If I want particular files to open in, let’s say, .doc to open in WordPad, we can add file associations here that will link that RemoteApp application with those associations, with those file extensions.

If we go back to RDWA page and if we refresh we will be able to see Economy folder. If we click on it we will see Calculator.


That’s it.
Cheers,
Nedim


Leave a comment