When you receive a new Windows 10 computer, and when you start it for the first time you come to the Out-Of-the-Box Experience. There is a couple of step that we need to perform to come to the login page. We can use Windows AutoPilot to set up new Windows 10 devices for our business and skip all of those steps.

Before you go and deploy a device using Windows Autopilot, the device must be registered with the Windows Autopilot deployment service. We can perform this by ourselves or our reseller, or distributor can do this step for us. If you want to do it by yourself you will need to collect the hardware identity and uploading it manually to the Intune.
To perform manual registration of a device, you must first capture its hardware ID (also known as a hardware hash). Once this process has completed, the resulting hardware ID can be uploaded to the Windows Autopilot service.
Before you go and use Autopilot option, devices need to meet these requirements:
- Windows 10, version 1703 or later.
- New devices that have not been through Windows out-of-box experience.
This script will automatically create a CSV file (based on serial number) and it will import it into intune for you from OOBE.
Make sure you have Autopilot profile created and device group configured and assigned to it.
You can use this script even when you login to windows and not only OOBE. If you are doing it within Windows, you will need to reset the computer so that you access OOBE.
Start the computer and press Shift + F10 to access CMD

Type in Powershell

Type in Set-ExecutionPolicy Unrestricted -Force

Browse to the location where you have saved script (You may have it on USB drive, so change the drive) and run it

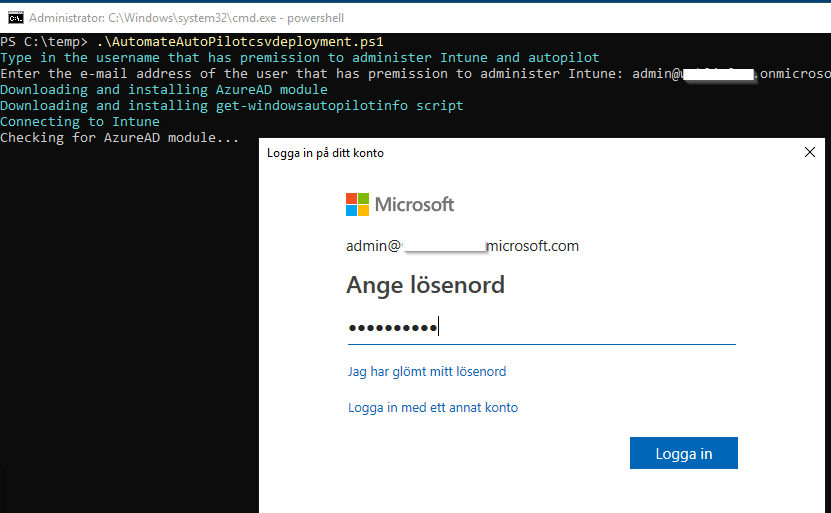
First that it comes up is the username that you gonna use to connect to Intune and import the CSV file. Once done press enter

It will then download and install Azure AD, WindowsAutopilotIntune modules and Get-WindowsAutoPilotInfo script
Once done, it will prompt for the password to connect to the Intune.

It will then create a CSV file in a temp folder and import it into Intune.


You can login to Azure Portal –> Intune –> Windows Enrollment –> Devices

And you will see the device there. Profile will not be assigned but it may take up to 15 min before it switch to Assigned.

Or you can use Powershell to check for the device. Command is Get-AutoPilotDevice

When you see that the profile is assigned you can go ahead and configure your device.
UPDATED VERSION: Because of Connect-AutopilotIntune cmdlet disappearing from the module, script is updated and now it is using Connect-MSGraph. Script will download additional module (Microsoft.Graph.Intune) and login. Everything else will work the same.
OBS!!! If you are accessing MS Graph for the first time, make sure that you create application identity. Without this you will not be able to use this script. Easiest way is to download the Microsoft.Graph.Intune module and connect to ms graph before you run the script. When you do this, you will be prompted to give your account permission. After this step, you will be able to run the script.
You can download script here
AutomateAutoPilotcsvdeployment
That’s it.
I hope this has been informative for you.
Stay Tuned!
Cheers,
Nedim


Leave a comment