Attack simulator allows you to run realistic attack scenarios in your organization. This can help you identify and find vulnerable users before a real attack impacts your bottom line. Before you can use this tool you will need to have:
- Mailboxes in the Exchange Online (It is not working for Exchange On-Premises)
- You have to have global administrator or security administrator permissions
- You will need to have Office 365 Advanced Threat Protection Plan 2
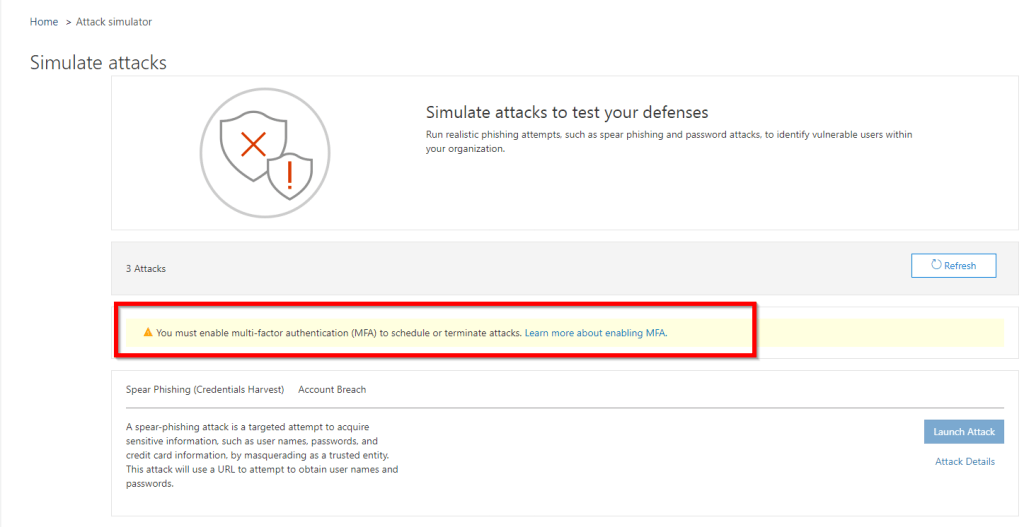
- Last but not least is MFA. MFA needs to be ON. If you do not configure MFA you will see worning like this when you access Attack simulator

The attack simulator is found in the Security & Compliance center under threat management.

We’ve got three types of attacks here that we can run against our environment. A spear-phishing attack with the goal of harvesting user credentials, a brute force attack using a dictionary of passwords, and a password spray attack, which is similar to the brute force attack in that it attempts to discover accounts with weak or common passwords.
Spear-phishing attack
Let’s start with the spear-phishing attack. Click on Launch Attack

Now there’s a couple of templates provided with the tool, a prize giveaway and a payroll update. You can craft your own email completely from scratch (I will show you how you can create your own templates later in this post). If you’re creating your own email, you have full creative control over that scenario, you can try and make it as authentic as possible. If you’re using the templates, there’s customization available as well. Click on Use Templates

Choose the one from the list and select next

Add some recipients to the attack, you can target individuals or you can target a group. I will select only one user. Once done, click next

Next, the email details, and this is where the template prefills a lot of these details for you. You can change them if you need to, so let’s make this look like an email from administration, for example. There’s also a choice of URLs to use as the phishing URL. These are all owned by Microsoft of course, so they’re safe to use, and you can specify a custom landing page URL, which is where the user will be sent after they actually fall for the attack; and Microsoft supplies a default page for that, so I’ll just leave this blank and use the default page. Click Next

Here’s the template email message. The wording of this email might not actually suit your organization so, if you need to tweak this text, you can do so. Once done, click Next and Finish to finish the wizard.

Attack has been launched at this point.

So the users who are targeted for the phishing attack receive the email in their inbox, they might go ahead and click on the link, they might even log in with their Office 365 credentials. If you have advanced threat protection enabled or other security measures in place for you organization you’ll often find that these testing websites get blocked.

When a user clicks on that link, sign in window will pop-up.
![2019-07-03 11_48_36-Sign in to your account - Internet Explorer - [InPrivate].png](https://mehic.se/wp-content/uploads/2019/07/2019-07-03-11_48_36-sign-in-to-your-account-internet-explorer-inprivate.png?w=560&h=490)
If a user enter creds, this will happen. The user ends up on the page letting them know they’ve been redirected to this web page by a recent phishing awareness test, and you’ll be contacted shortly by your administrators for some follow up training on security best practices.
![2019-07-03 11_50_27-Phishing - Internet Explorer - [InPrivate].png](https://mehic.se/wp-content/uploads/2019/07/2019-07-03-11_50_27-phishing-internet-explorer-inprivate.png?w=1876&h=938)
You can view a report for the completed attack in Attack Simulator.

Any users who fell for the attack will be listed here and you can take steps to educate them on email security risks, and try and change their behavior in future.

CREATE OWN TEMPLATES
Before we proceed with Brute Force Password attack, let’s see how we can create our own templates that we can use instead of default ones.
To create own templates in Attack Simulator, click on Attack details

Scroll down and click on the New Template

Give your tempate a name and click next

Configure the Phishing email details that suit your organization

Here you can create custom email that you can use. Once done, you will be able to choose it under Templates.

Brute Force Password (Dictionary Attack)
For the password attacks, they can take a little longer to run, especially the brute force attack if you supply a very long list of common passwords and you target a large group of users. Now there are good sources of the world’s most common passwords available for downloading. Example, you can find very good password list on the github of 100 or 1000 or 1 000 000 common passwords, and you can upload those lists into the attack tool, and then launch the attack. Now the users aren’t involved in those brute force password tests, but at the end you’ll get a list of which accounts match to those common passwords, which obviously puts them at risk of compromise by simple password guessing. You can mitigate that risk with multifactor authentication of course, and other measures, but it’s best to educate users not to use well-known common passwords, and certainly if you found any common passwords in use, you should encourage those to be reset.
Let’s see how this work. In Attack Simulator, under the Brute Force Password (Dictionary Attack) click on Launch Attack

Select the name and click next

Select the users and click next

Now, here we can import password lists that we would like to use or we can specify one by one. You will notice when you add password and press enter that password will be hidden. If you are using password list make sure that the text file is not larger than 10 MB in file size. For this test I will add 2 passwords and click next and finish

This test may take some time to complete, specially if you have many users and a very large password list. Once done, you will be able to view the report


Password Spray Attack
The third attack that we can use is the password spray attack. Difference between brute force and password spray attack is that you are not using dictionary in this case. You will use common password to target large group of users. This is a widely used attack, as it is a cheap attack to run, and harder to detect than brute force approaches. First give it a name and click next

Here we need to add users or groups. Once done, click next

Here is the part where you need to pick password(s) to test. Once done, click Next and Finish

We will be able to see the report for this attack as well.


It is really imporant to run tests like this to discover users with weak password. This can help you identify and find vulnerable users before a real attack impacts your bottom line.
That’s it. I hope you enjoyed and learned something new.
Stay Tuned!
Cheers,
Nedim


Leave a comment